Configuring bliss to consolidate genres
Unlike many software, bliss is software that runs in the background (it does not have a graphical user interface that 'pops up') and presents its user interface via a series of Web pages. These Web pages can be accessed via an icon in the System Tray (Windows) or Menu (OS X). Alternatively you can visit the pages directly. If bliss is running on the same computer as your browser, visit http://localhost:3220 (substitute "localhost" for the IP address or name of the computer running bliss if not).
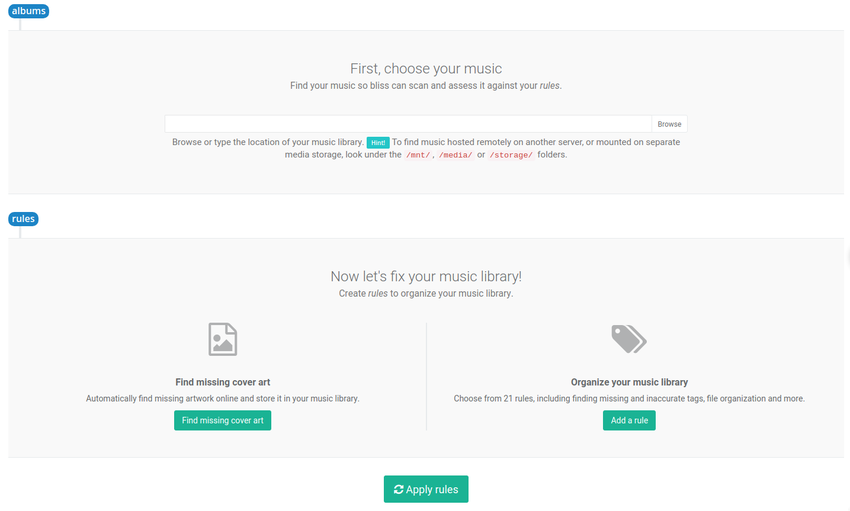
The first time you run bliss and you visit the Web pages, you're offered the chance to set bliss up on the settings page. Alternatively, if you have already run or have been using bliss, click "". You'll get the following:

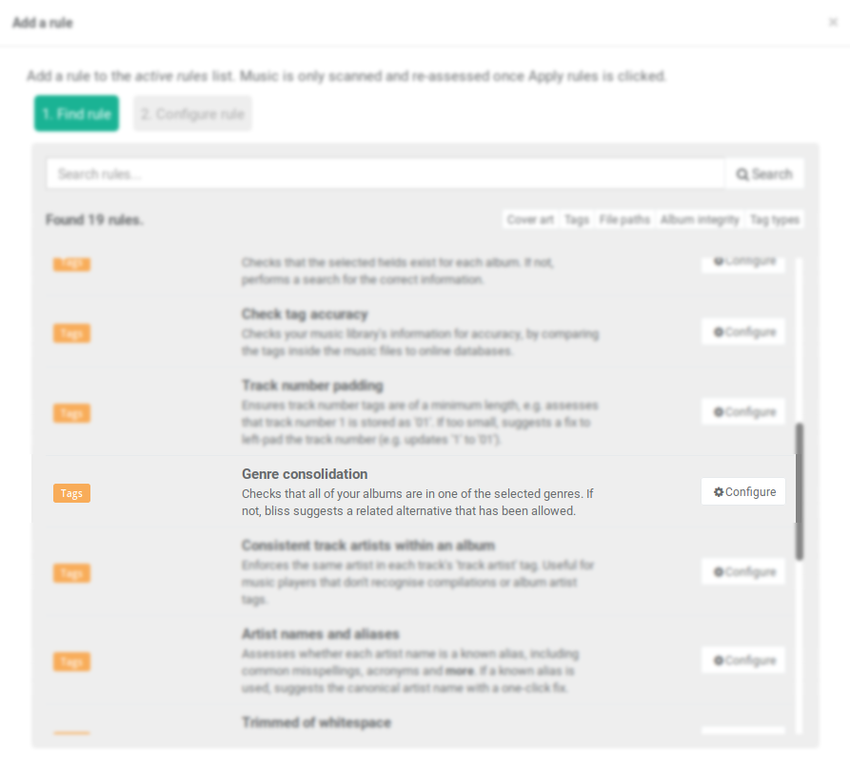
Here, no rules have been configured. Under Add a rule you will find the Genre consolidation rule. Click the Configure button next to it to show options which include genre consolidation:

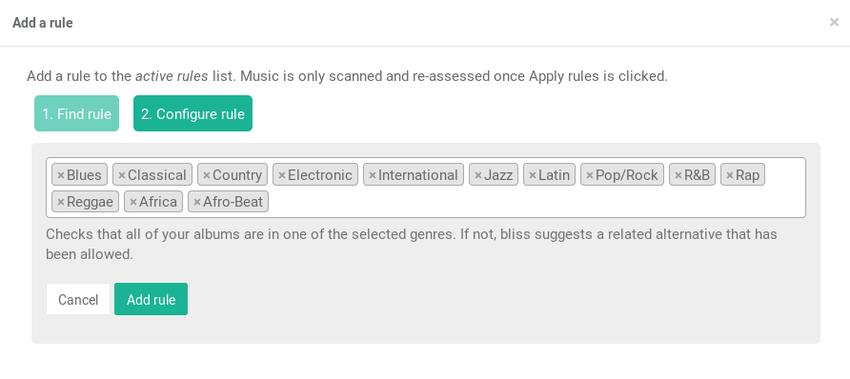
The default list of genres (as discussed in How bliss consolidates genres) will appear - Blues, Classical, Country, Electronic, International, Jazz, Latin, Pop/Rock, R&B, Rap and Reggae. Click on the blank space in the field where the mentioned genres are and the list of all available genres will appear. Choose your genres and click Add rule button:

Any genre can be removed from the list by clicking the "X" symbol to the left of the genre. Genres can be added by clicking simply typing them in. As you type, you'll get a suggestion.
To add a second genre, use the tab key. This is so we can support genres with spaces in the name.
But let's leave the list at its default for now.
Now we have configured the rule (we activated the rule, although didn't change the allowed list away from the default) we can click Apply rules. At this point, bliss will begin assessing our genres:
